
How to Safely Change a Tire After a Puncture
Posted on October 14, 2025
Encountering a flat tire on a busy road or during a long drive can be stressful, but it doesn’t have to turn into a nightmare. Knowing how to safely change a tire after a puncture is an essential skill for every car owner. At Momentum Tyre Services, we believe that a little preparation, the right tools, and following the proper steps can transform a potentially stressful situation into a manageable one.
In this guide, we will provide a step-by-step approach, tips, and safety precautions to help you confidently handle a tyre puncture. Whether it happens on a quiet street in Dubai or on a highway, these guidelines will ensure your safety and efficiency.
Why Knowing How to Change a Tire is Important
Many drivers panic when they encounter a puncture, and inexperience can turn a minor inconvenience into a major hazard. Knowing the proper procedure helps you:
- Stay safe: Avoid accidents or injuries while changing a tire.
- Save time: A smooth process prevents extended delays.
- Avoid further damage: Prevents damage to your vehicle’s wheel or alignment.
- Be self-reliant: Avoid waiting for roadside assistance in isolated areas.
Think of it as an investment of a few minutes of learning for a lifetime of confidence on the road.
Essential Tools You’ll Need
| Tool | Purpose |
| Jack | To lift the car off the ground safely |
| Lug Wrench | To remove and tighten lug nuts |
| Spare Tire | To replace the punctured tire |
| Wheel Wedges | To prevent the car from rolling |
| Gloves | To protect your hands |
| Flashlight | Helpful if you’re changing a tire at night |
| Reflective Triangle | To alert other drivers, especially on highways |
| Car Owner’s Manual | Provides model-specific instructions |
Pro Tip: Always keep these tools in your car. At Momentum Tyre Services, we’ve seen that drivers often panic simply because they didn’t have the right tools at hand.
Step-by-Step Guide to Changing a Tire
Step 1: Find a Safe Location
If you experience a puncture while driving, don’t panic. Reduce speed gradually and look for a safe, flat location away from traffic. Avoid hills or soft surfaces that could make lifting the car dangerous. Turn on your hazard lights to alert other drivers.
Step 2: Apply Wheel Wedges
To prevent the car from rolling, place wheel wedges in front of or behind the tires opposite the flat. For instance, if the front tire is flat, wedge the rear tires. This step is often overlooked but is critical for safety.
Step 3: Loosen the Lug Nuts
Using a lug wrench, slightly loosen the lug nuts on the flat tire before lifting the car. Turn them counterclockwise, but don’t remove them completely yet. Loosening the nuts while the car is on the ground prevents the wheel from spinning.
Step 4: Lift the Vehicle with a Jack
Consult your owner’s manual for the correct jack placement—usually under the car’s frame near the tire. Slowly lift the car until the flat tire is a few inches above the ground. Never place any part of your body under the car while it’s on a jack.
Step 5: Remove the Lug Nuts and Flat Tire
Fully unscrew the loosened lug nuts and place them somewhere safe (a small container or even a clean cloth works). Carefully remove the flat tire by pulling it straight toward you. It may be heavy, so brace yourself!
Step 6: Mount the Spare Tire
Line up the spare tire’s holes with the lug nut posts and slide it into place. Push it firmly but don’t attempt to fully tighten the nuts yet.
Step 7: Tighten the Lug Nuts
Lower the car slightly so the spare tire touches the ground but the full weight is not on it. Tighten the lug nuts in a star or crisscross pattern to ensure even pressure. Once fully lowered, double-check that all lug nuts are tight.
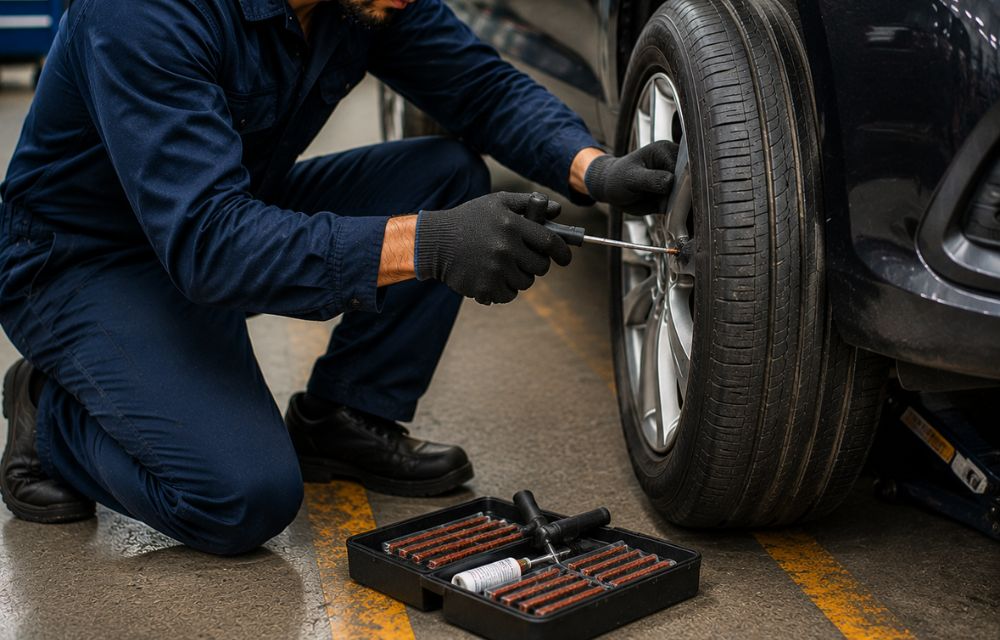
Suggested Read – Types of Tyre Punctures and Their Repair Methods
Step 8: Check Tire Pressure
If your spare is a full-size tire, check the pressure using a tire pressure gauge. For temporary “donut” spares, follow the recommended PSI from your manual.
Step 9: Replace the Valve Cap
Ensure the valve stem cap is securely in place to prevent air leaks.
Step 10: Stow Tools and Flat Tire
Store your tools and flat tire properly. If it’s repairable, take it to a professional like Momentum Tyre Services for patching or replacement.
Safety Tips While Changing a Tire
- Never change a tire on a busy road if you can avoid it. Safety first!
- Use a reflective triangle or cones if you’re on the roadside.
- Wear gloves to avoid cuts or grease stains.
- Avoid over-tightening lug nuts, as it may damage the wheel studs.
- Check the spare tire immediately after mounting for correct pressure.
- Drive cautiously on a spare, especially if it’s a temporary donut
Tips for Maintaining Your Tires and Avoiding Punctures
Check tire pressure regularly: A properly inflated tire is less prone to punctures.
Inspect tires for damage: Remove nails, screws, or glass shards.
Avoid potholes and debris: Even minor impacts can cause slow leaks.
Rotate tires regularly: Ensures even wear and better longevity.
Choose quality tires: Cheap or counterfeit tires are more prone to punctures.
At Momentum Tyre Services, we recommend professional inspections every few months to catch minor issues before they become emergencies.
Conclusion
Changing a tire after a puncture might sound daunting, but with the right tools, knowledge, and precautions, it can be a straightforward task. By following the steps outlined in this guide—finding a safe spot, using wheel wedges, loosening lug nuts, properly mounting the spare, and checking the pressure—you can handle a puncture like a pro.
At Momentum Tyre Services, we not only provide high-quality tires and replacements but also offer guidance, inspections, and emergency services to ensure your vehicle is always road-ready. Remember, preparation and knowledge can save you time, money, and a lot of stress. So next time you hear that dreaded “hiss,” you’ll know exactly what to do—and do it safely!
